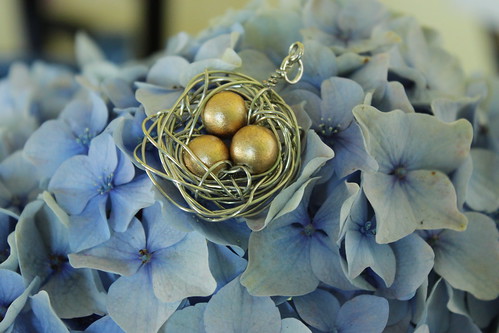
I love making these, and they have a different meaning for everyone. Two pearls in a little nest make a sweet wedding gift. One great big pearl in a nest reminds a young woman of her inherent worth. A handful of little stone beads are a mother's children...or just her favorite colors! I love that every person who makes these wraps them a little different- every nest is totally unique.
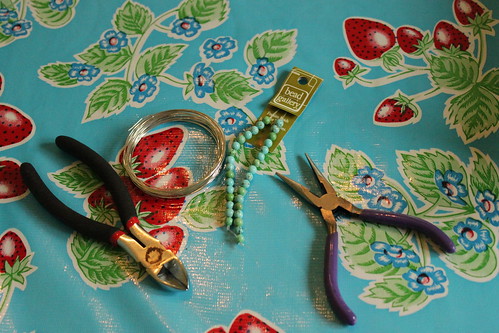
Start with your supplies: wire cutters, 20 guage copper wire, beads, and needlenose pliers. If you have round-tip pliers, those will come in handy too. (If you make jewelry, you'll know what these are. If you don't, don't sweat it: you can totally make these with things from the toolbox.)
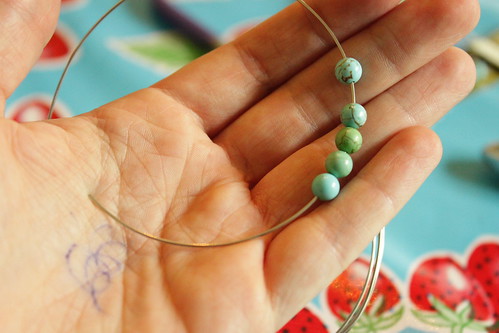
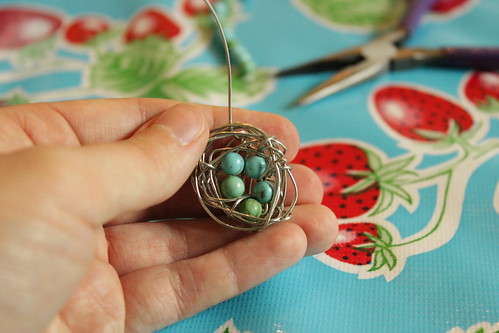
If you want a petite nest, cut three feet of wire. (I get my wire at Michael's, in the jewelry section.) If you want a chunkier nest, cut 6 feet. (This nest today is about 3 feet, with 6 mm beads.) Those are my two favorite lengths- try it out, and see what you like. I will tell you that learning this project with three feet of wire will be easier than having six feet of wire whipping around. Thread your beads onto one end of the wire, and leave a 2 inch tail behind them.
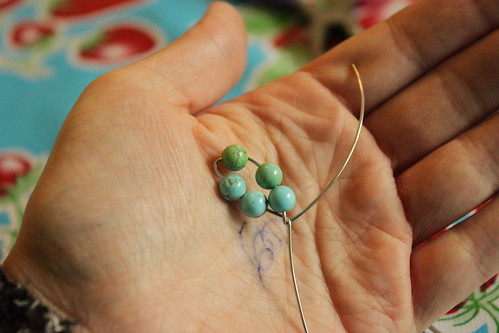
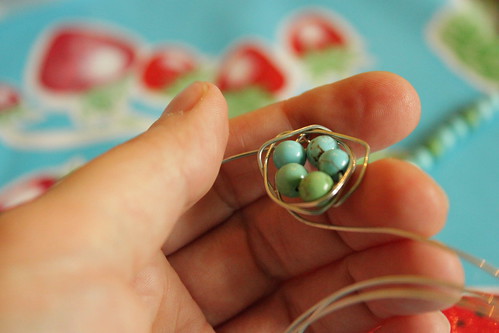
Now, to make the center of the nest, twist the beaded section into a loop and twirl the ends together to hold it steady. Hold the beaded loop in one hand, and the wire in the other, and just turn one side like a key.
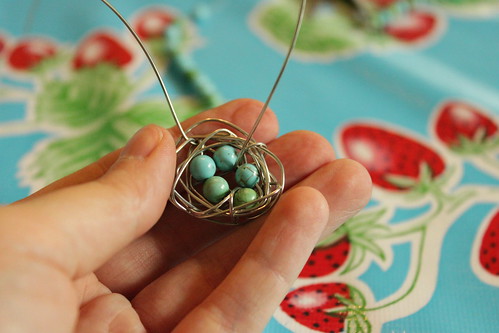
Now take the long tail, and start wrapping it around the outside of the beads to make a wreathe. Go around about three times.
Now take the end of the long piece, and come up from the bottom to "sew" all those wire loops together. Sew it twice, to anchor.
Now, it's up to you! Go around the outside some more, make it as tight or as loose as you like. If it starts to feel like it's going to spring apart, anchor it again by sewing from the bottom.
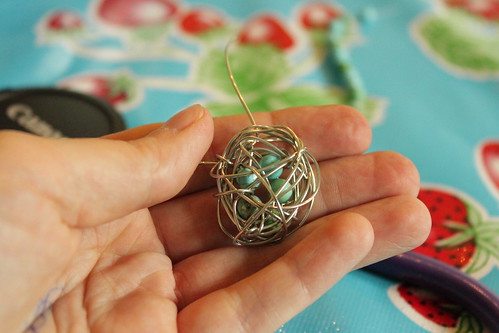
If you want "nest" underneath the beads, be sure to wrap the wire underneath and across a few times. I literally just wrap it by crossing underneath, then crossing on the top side at the edge, and anchoring it when it starts to feel loose.
When you get to the end of your wire, start "sewing" all the way around the edge of the nest to make sure things are sturdy. When you can't wrap any more, curve the end of your wire with the needlenose (or round tip) pliers, and just tuck it into the back side of the nest so it won't poke anyone.
That 2 inch tail you left at the beginning is still sticking out the top, so let's finish that.
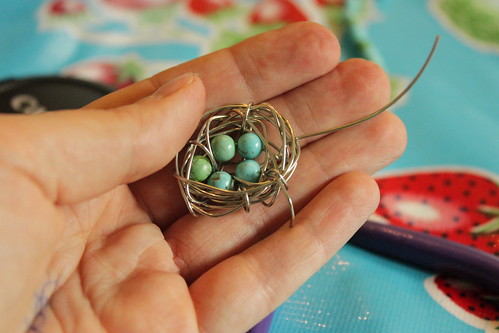
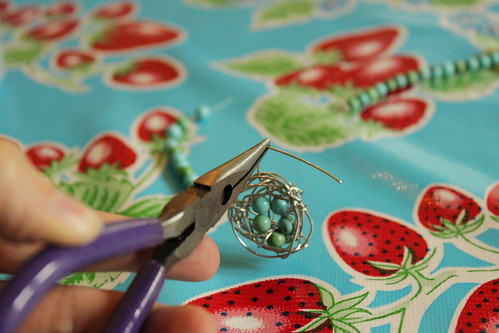
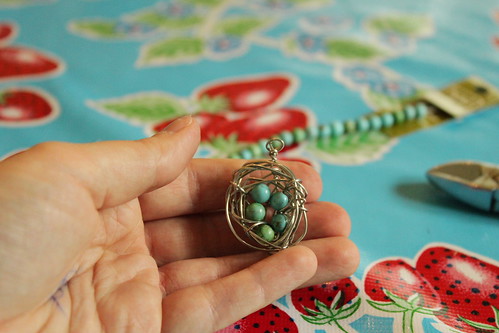
With your needlenose pliers, bend a 90 degree bend in the wire about half a pinky-width up from the nest. Now you're going to use your pliers as a guide to make a small double loop, starting at that bend. Bring the tail down to the bottom of the second loop, and wrap it around the wire between the loop and the nest. Crimp it tight with the pliers (or a crimping tool) to make sure it won't poke anyone.
You've made a nest pendant!
(These are also available in the shop.)

2 comments:
likey
great tute!
Post a Comment